Arc
Draw part of a circle: a 3-point arc, a tangent arc that carries on smoothly from a line, or a centre point arc.
- Arc ASketch toolbar
- Tangent arcSketch toolbar: under the ▾ next to Arc
- Centre point arcSketch toolbar: under the ▾ next to Arc
| SchoolCAD | Onshape | Fusion | SOLIDWORKS |
|---|---|---|---|
| Arc | 3 point arc | 3-Point Arc | 3 Point Arc |
| Tangent arc | Tangent arc | Tangent Arc | Tangent Arc |
| Centre point arc | Center point arc | Center Point Arc | Centerpoint Arc |
An arc is part of a circle. Use arcs for curved edges and round ends: the top of a bookend, the curve of a phone stand, a handle. There are three arc tools.
| Tool | How to draw it | Good for |
|---|---|---|
| Arc A | Click the start, then the end, then a point the arc passes through. | Most curves between two points. |
| Tangent arc | Click the end of a line or arc, then where the arc ends. | A curve that carries on smoothly from a line, with no corner. |
| Centre point arc | Click the centre, then the start, then the end. | A curve around a centre you know, such as around a hole. |
Tangent arc and Centre point arc are under the ▾ next to Arc.
How to use it#
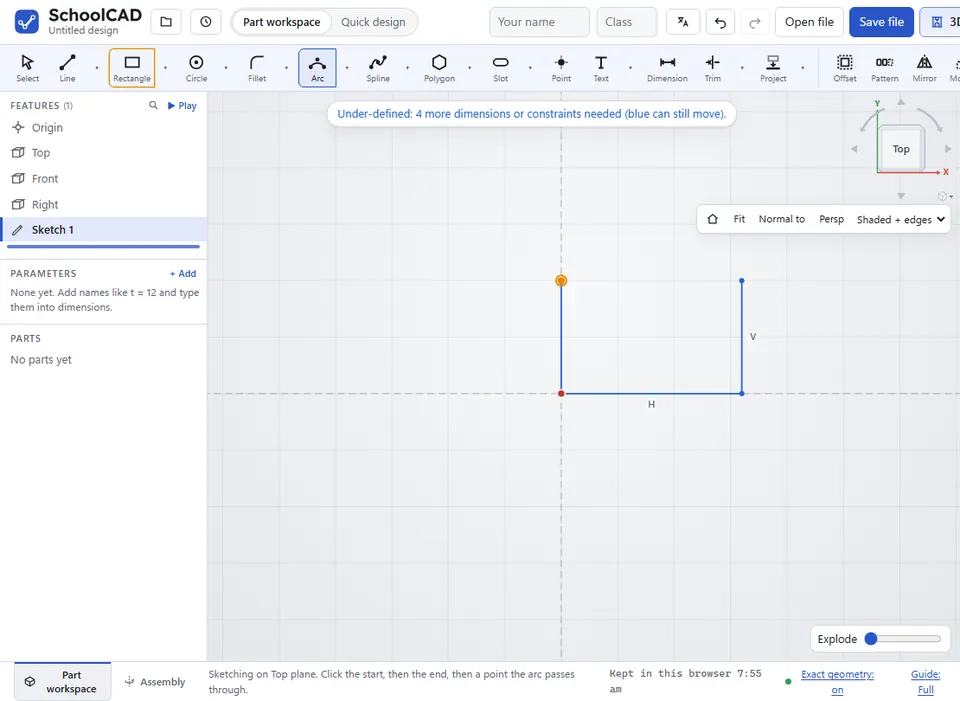
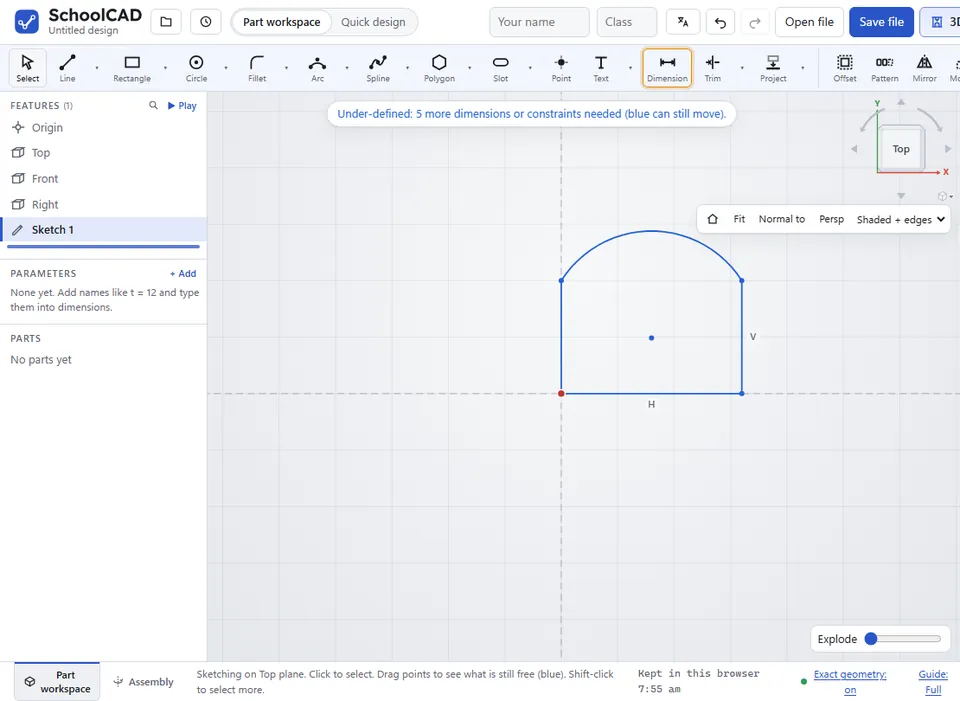
Arc: click Arc or press A. Click where the arc starts, then where it ends. Move the pointer to bend the arc, then click. If the arc starts or ends on the end of a line or another arc and you bend it nearly smoothly into it, it snaps tangent (the pointer shows T) and keeps a Tangent constraint.
Tangent arc: choose Tangent arc from the ▾ next to Arc. Click the end of a line or an arc, then click where the arc should end. The arc leaves the line tangent: it meets the line smoothly, without a corner, and a Tangent constraint keeps it that way. The pointer shows the radius.
Centre point arc: choose Centre point arc from the ▾ next to Arc. Click the centre, then the start (this sets the radius). The start snaps straight across or straight up from the centre when it is nearly there. Move the pointer round the way the arc should go, and click the end.
Then use Dimension: click an arc to give its radius (R).
Step by step#
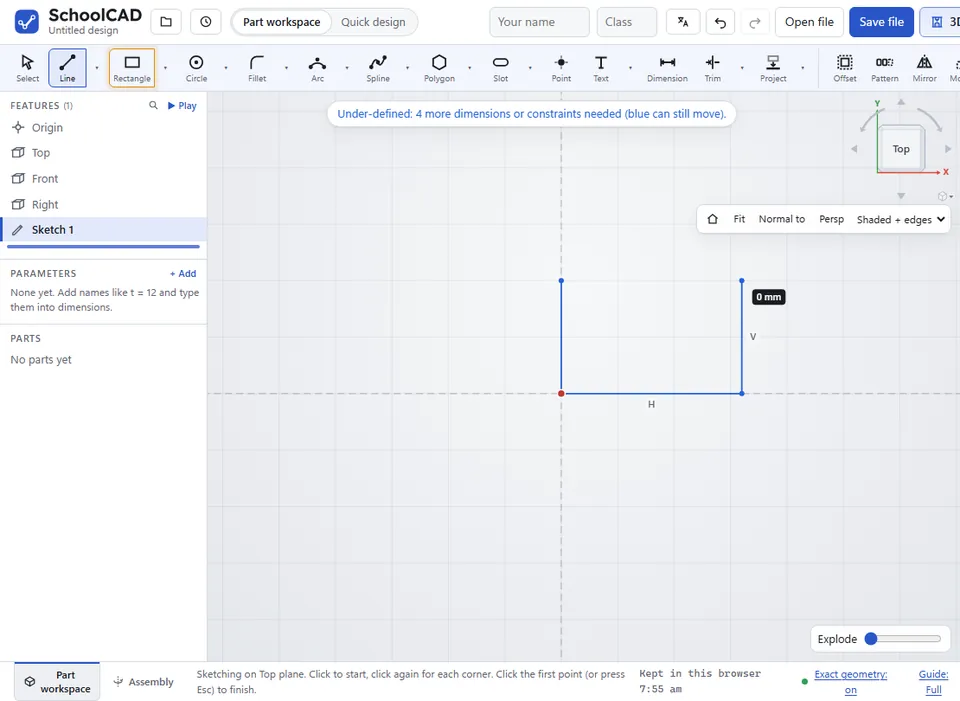
Here is the whole thing on a door sign with an arched top, from the SchoolCAD video tutorial.

Tips#
- To round the corner where two straight lines meet, sketch Fillet is quicker: click the corner and type the radius.
- To make a line and an arc meet smoothly after you have drawn them, select both and click Tangent (T).
- The start, end and centre snap to points and lines, and line up with other points (dotted guides), so the arc joins up with the rest of the shape.
If it does not work#
- Those three points are in a straight line, so there is no arc. Try again.
- Click the end of a line or an arc to start from. A tangent arc must start at the end of a line or arc.
- The end has to be off the line the arc starts along. Click to one side of it.
- The end is where the arc started. Click somewhere else round the circle.
- A centre point arc goes the wrong way round: press Ctrl+Z and draw it again, moving the pointer round the other way.