Push/Pull
Click a flat face of a part and drag it out to add material, or in to cut it away. No sketch needed.
- Push/Pull QPart workspace toolbar
| SchoolCAD | Onshape | Fusion | SOLIDWORKS |
|---|---|---|---|
| Push/Pull | – | Press Pull | – |
Push/Pull changes a part straight from one of its faces, with no sketch to draw first. Click a flat face and drag its arrow: out adds material, in cuts it away. It is the quickest way to make a board thicker, a leg longer or a shelf shorter.
The whole face moves, holes and rounded corners included, and the walls around it carry on to meet it.
How to use it#
- Click Push/Pull, or press Q.
- Click a flat face of a part. (You can also click the face first, then Push/Pull.)
- Drag the arrow out to add material, or in to cut it away. Or type the Distance:
5goes out 5 mm,-5goes in 5 mm. - Check the preview, then click ✓ or press Enter.
Step by step#
Here is the whole thing on a 120 × 80 × 18 mm board, from the SchoolCAD video tutorial.
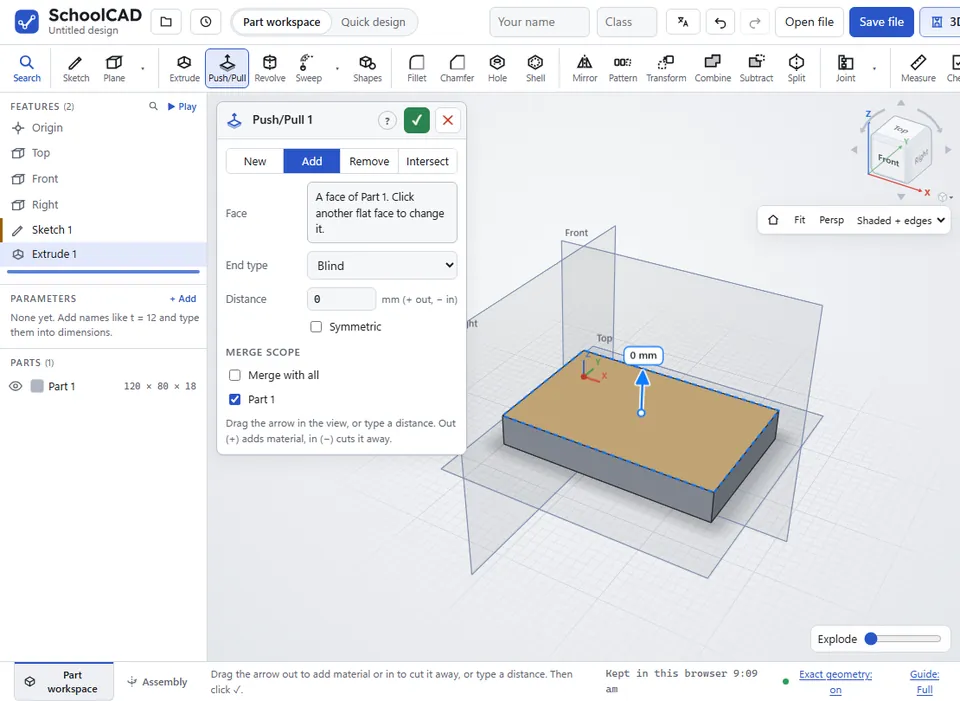
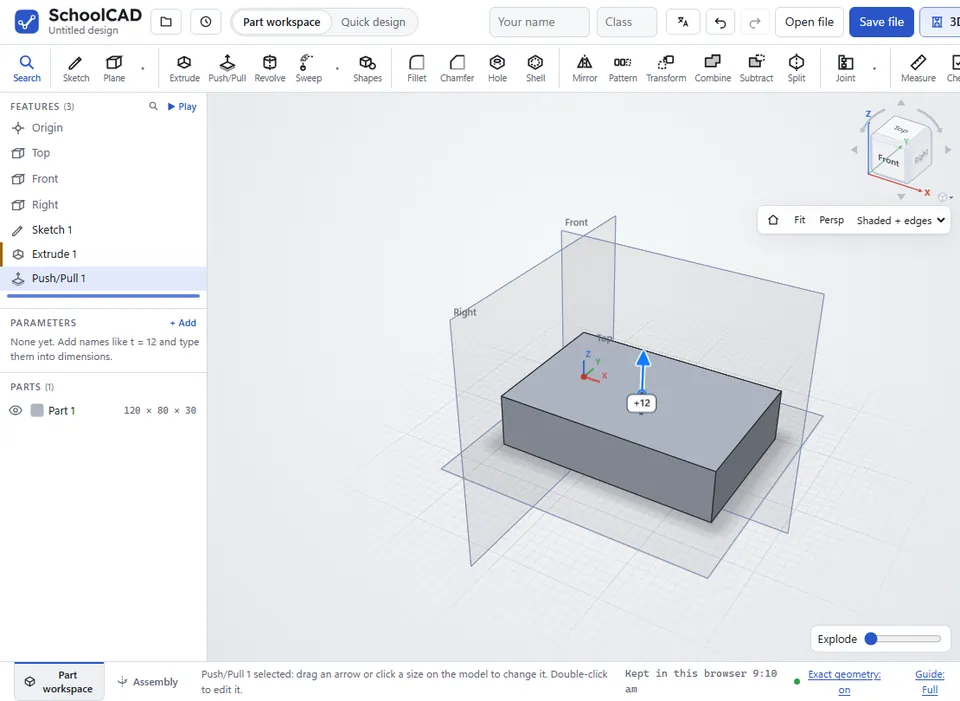
12, and click ✓: the face moves out and the part gets thicker.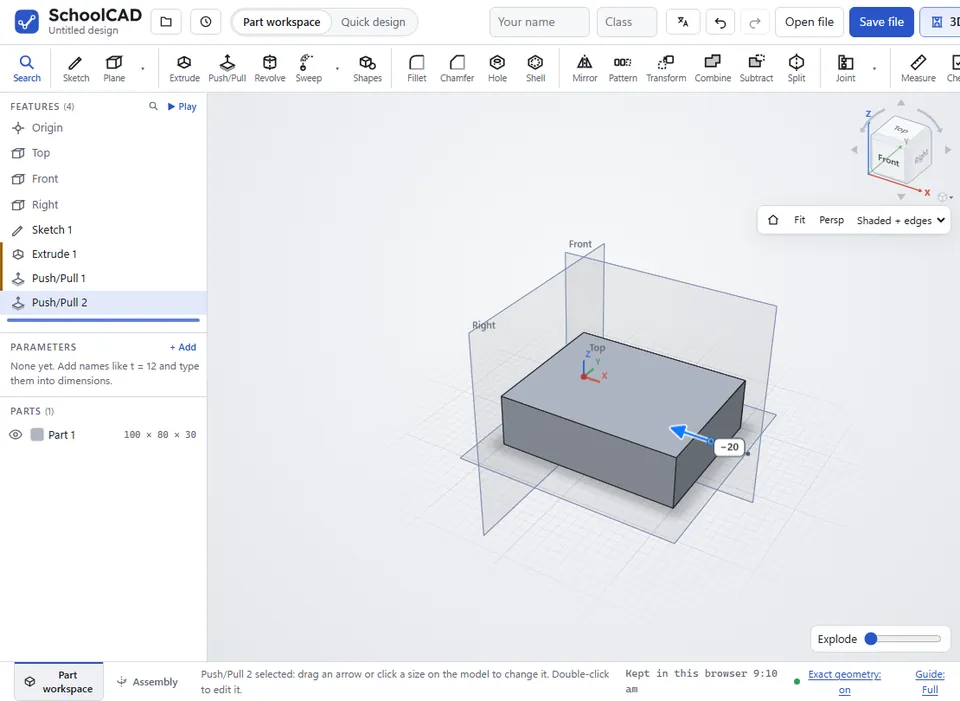
Options#
| Option | What it does |
|---|---|
| New, Add, Remove, Intersect | What it does. At first it chooses for you: out adds, in removes. Click one yourself to keep that choice. New makes a new part the shape of the face. |
| Face | The face that moves. Click another flat face to change it. |
| End type | Blind goes the Distance you type. Up to face moves the face up to another flat face you click, and follows that face if it moves later. Up to part pulls it out until it meets another part, taking that part's shape where they meet. Up to vertex moves it level with a corner you click: out adds, in cuts. Through all goes right through the part. |
| Distance | How far it goes, in mm: + is out, − is in. |
| Symmetric | For Blind and Through all: goes half each way from the face. With Blind, the Distance box becomes Depth: type the total depth (mm in all). |
| ⇅ (Opposite direction) | For Through all: which way it goes. |
| Part name, Material | For New: the new part's name and material. |
| Merge scope | For Add, Remove and Intersect: the parts it changes. Merge with all starts unticked, with the part with the face ticked for you. Tick more parts, or tick Merge with all to change every part it meets. |
Tips#
- When you drag the arrow, the steps get smaller as you zoom in. Hold Shift for finer steps, or press Esc to put the distance back.
- You can type a sum, or the name of a parameter. If you have a parameter
tfor the board thickness, type-tto push a face in by one board thickness. - With Up to face, Up to part or Up to vertex, click the face, part or corner it should go up to. To move a different face, click Change face first.
- To change a Push/Pull later, double-click it in the feature tree, or click it once in the tree and drag its arrow on the model.
- To add or cut a shape that is not a whole face, such as a tab or a slot, draw it in a sketch and use Extrude.
If it does not work#
- That face is curved. Pick a flat face to push or pull. Push/Pull only moves flat faces.
- Drag the arrow or type a distance first. The distance is still 0, so nothing would change.
- The cut did not remove anything. Check the direction, depth or the part it cuts. With Through all, click the ⇅ arrow (Opposite direction).
- The face to push or pull was not found after an earlier change. Edit the feature and click the face again. Double-click it in the feature tree, then click the face.