Shell
Hollow out a part, leaving walls of an even thickness, with the faces you pick left open.
- Shell OPart workspace toolbar
| SchoolCAD | Onshape | Fusion | SOLIDWORKS |
|---|---|---|---|
| Shell | Shell | Shell | Shell |
Shell hollows out a part and leaves walls of the same thickness all the way round. The faces you pick are taken away to make the opening. Model a solid block, shell it with the top face picked, and you have an open box. It is the quick way to make a 3D-printed case for electronics, a pencil cup, a planter or a lamp shade.
The outside stays the same size: the walls are made on the inside. Tick Shell outward to make them on the outside instead, so the hollow is exactly the shape of the part as it was, like Shell outward in SOLIDWORKS and Opposite direction in Onshape's Shell.
How to use it#
- Click Shell, or press O.
- Click the face or faces to remove: the open side. They are listed under Faces to shell. Click a face again to put it back. With no face picked, Hollow is ticked and you get a closed, hollow part.
- Drag the arrow on the rim of the opening, or type the Thickness.
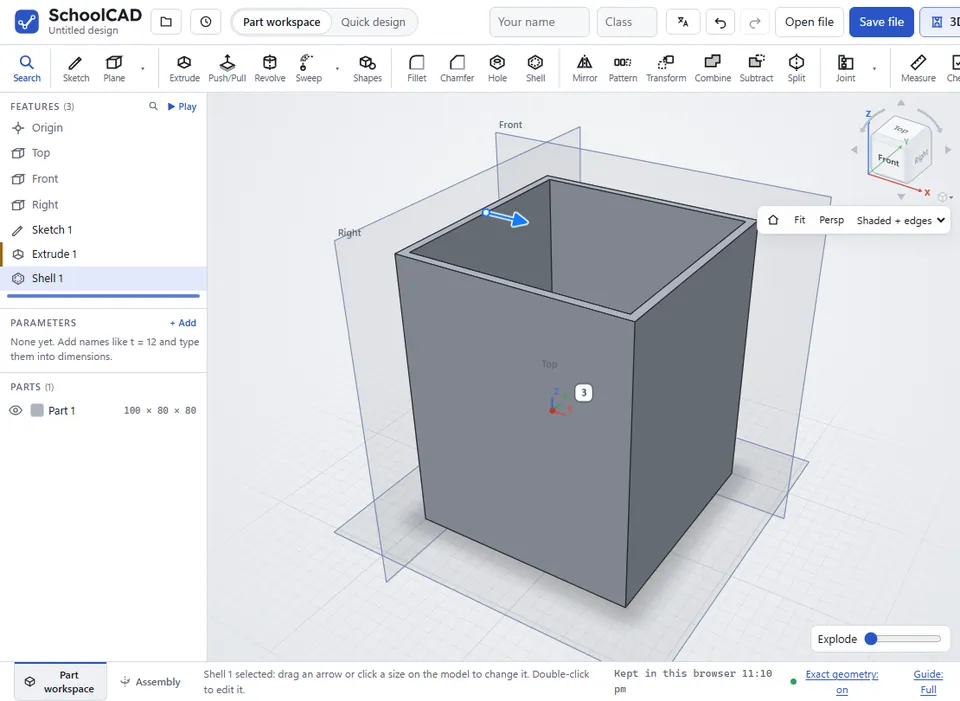
- Check the preview, then click ✓ or press Enter.
Step by step#
Here is the whole thing on a pencil cup, from the SchoolCAD video tutorial.
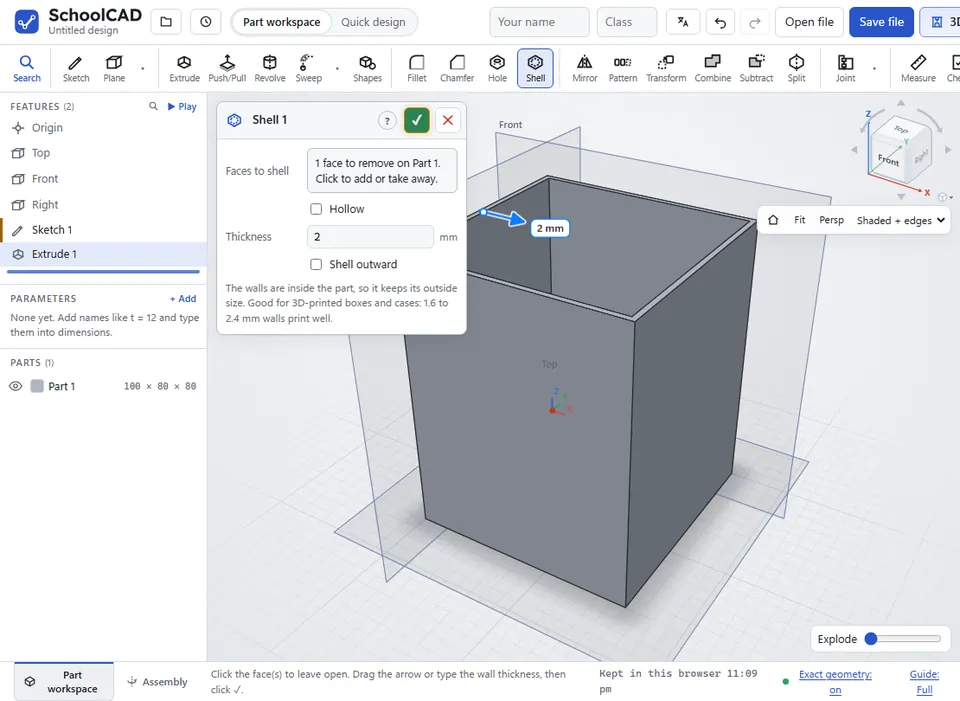
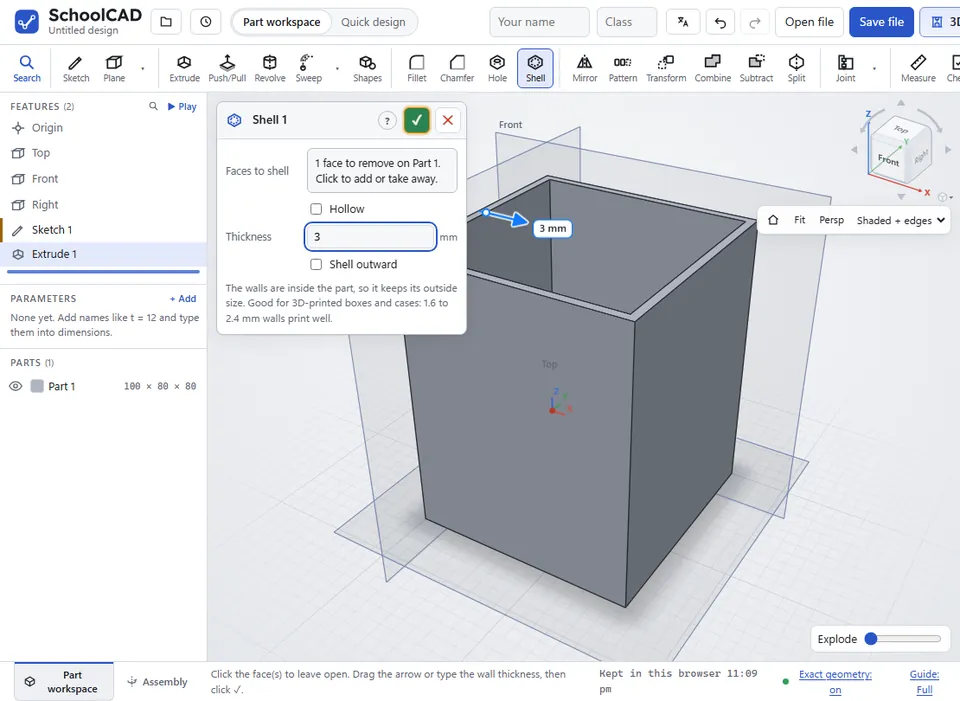
3.
Options#
- Faces to shell: how many faces will be removed (the open side), and from which part. Click a face to add it or take it away. Click a face on another part to shell that part instead.
- Hollow: no faces removed, so the part is closed and hollow. It is ticked while no face is picked. Tick it to put back all the faces you picked.
- Part: with Hollow ticked, which part to shell.
- Thickness: how thick the walls are, in mm. It starts at 2 mm.
- Shell outward: the walls grow outside the part, so the part as you modelled it becomes the hollow. Use it when the inside must fit something, such as a case modelled as the size of the circuit board it holds: a 60 × 40 mm block shelled 2 mm outward is a case 64 × 44 mm outside with a 60 × 40 mm space inside. The outside corners stay sharp.
Tips#
- For 3D printing, walls of 1.6 to 2.4 mm print well.
- Use Section view to slice through the part and check the walls.
- When you drag the arrow, the steps get smaller as you zoom in. Hold Shift for finer steps, or press Esc to put the thickness back. On a closed hollow part, the arrow is on its biggest flat face.
- When the 3D engine is on (the status bar says Exact geometry: on), Shell copes with holes, rounded edges and curved walls.
- You can type a sum, or the name of a parameter such as
wall, for the thickness. - To change a shell later, double-click it in the feature tree, or click it once in the tree and drag its arrow on the model.
If it does not work#
- Walls of 5 mm do not work on this part. Try a thinner wall, or remove a different face.
- The wall is too thick for this part, or it has holes or rounded edges the quick shell cannot follow. Wait for the 3D engine to start (bottom right), or try a thinner shell.
- Pick a flat face to remove. Only a flat face can be the opening.
- A face to remove was not found. An earlier change took the face away. Double-click the shell in the feature tree and click the face again.