Section view
Slice through your model to see inside joints, grooves, holes and walls. It only changes the view, not your design.
- Section viewPart workspace toolbar, at the right
| SchoolCAD | Onshape | Fusion | SOLIDWORKS |
|---|---|---|---|
| Section view | Section view | Section Analysis | Section View |
Section view slices through your model like a knife, so you can look inside it: at a joint, at the groove that holds a panel, at how deep a hole goes, or at the walls of a part you have shelled. It only changes what you see. Your design is not cut. It works like Section View in SOLIDWORKS and Section view in Onshape.
How to use it#
- Click Section view in the toolbar (or press Shift+X). The model is cut through the middle, and the view turns to look straight at the cut. To cut along a face, click a flat face or a plane first, as in Onshape.
- On the Section panel, choose the plane to cut parallel to: Front, Top, Right or Face.
- Drag the slider, or type the offset in mm, to move the cut through the model.
- Click ⇄ to see the other half.
- Click Section view again, or ✕ on the panel, to see the whole model.
Step by step#
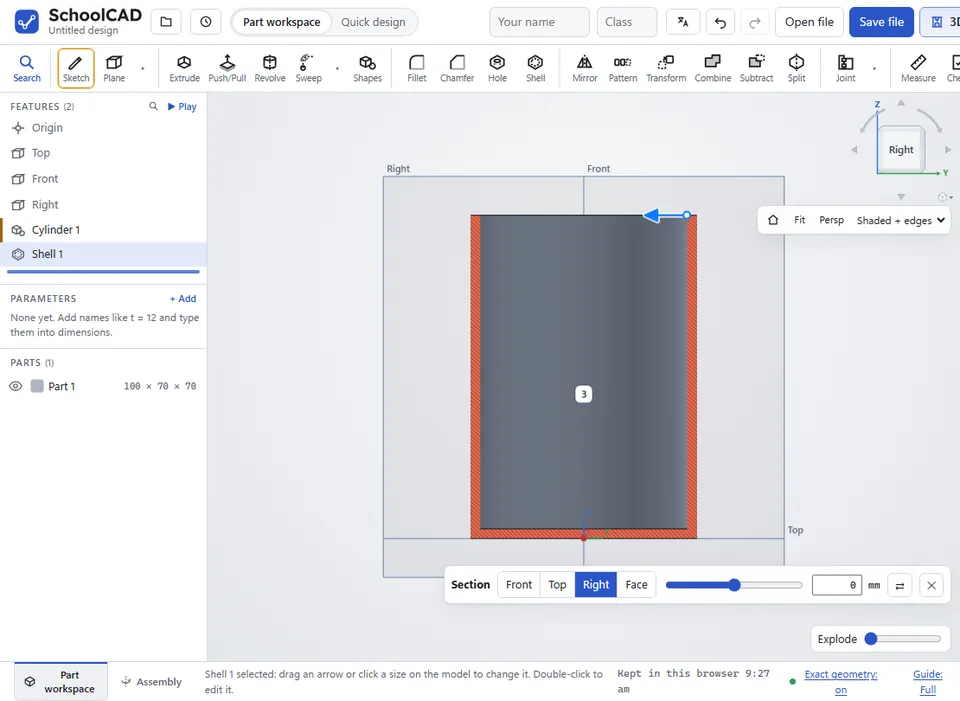
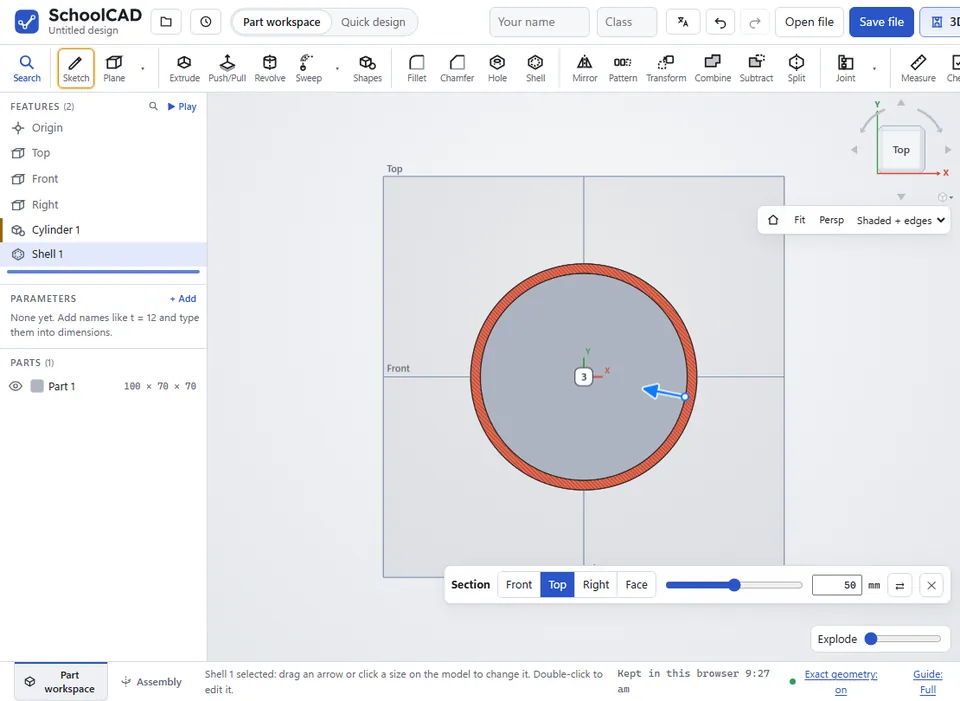
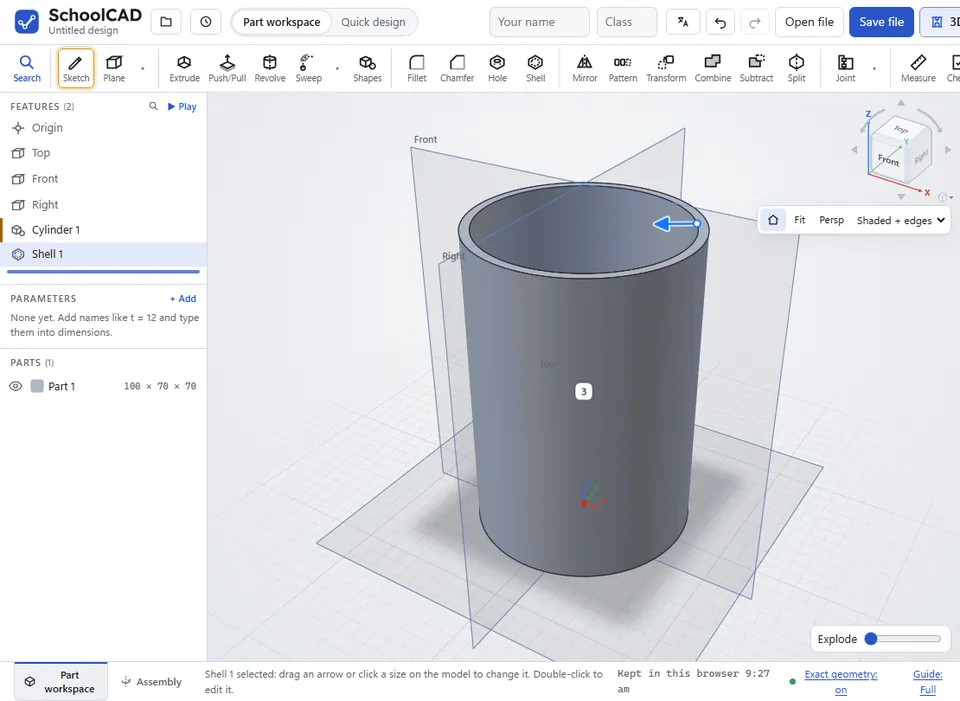
Here is the whole thing on a pencil cup, from the SchoolCAD video tutorial.
Options#
| Option | What it does |
|---|---|
| Front | Cuts parallel to the Front plane, front to back. |
| Top | Cuts parallel to the Top plane, across the height, like slicing a cake into layers. You look down on the cut. |
| Right | Cuts parallel to the Right plane, across the width. |
| Face | Cuts parallel to the flat face or plane you selected. Click one first, then Face. |
| Slider, offset | Moves the cut. The offset is how far the cut is from the plane or face, in mm: type a number such as 12.5, or a sum such as 40 - 3. From a face, a minus number goes into the part. |
| ⇄ | Shows the other half, and turns the view to face it. |
Where the cut goes through solid material, the cut faces are striped, like the hatching on a section drawing, so you can tell solid material from empty space.
Tips#
- You can still turn and zoom the view while the section is on, to look into the cut from an angle.
- While you sketch, the whole model shows again. The section comes back when you finish the sketch.
- To measure a wall or a groove you can see in the section, use Measure.
- To show a section on paper, add a section view to your engineering drawing.
If it does not work#
- I can only see the outside. The cut may be past the end of the part. Drag the slider back towards the middle.
- I cannot see the cut faces. Click ⇄, or turn the view so you are looking at the cut.