Chamfer
Bevel the edges of a part with a flat, sloping cut. Pick edges one by one, or click a face for all of its edges.
- Chamfer CPart workspace toolbar
| SchoolCAD | Onshape | Fusion | SOLIDWORKS |
|---|---|---|---|
| Chamfer | Chamfer | Chamfer | Chamfer |
A chamfer cuts a sharp edge off with a flat, sloping face, called a bevel. In the workshop you would use a plane, a file or a chamfer bit in the router. Chamfers make edges safer and less likely to chip, and they look neat on the top of a pencil box, the bottom of a table leg or the end of a dowel.
Chamfer uses the same dialog as Fillet, so you can switch between Fillet, Chamfer and Arris in it.
How to use it#
- Click Chamfer, or press C.
- Click the edges to bevel. An edge lights up orange when the pointer is on it. Click a flat face to pick all of its edges at once. Click an edge or a face again to take it away.
- Type the Distance, or drag the arrow on the bevelled edge.
- For a bevel that is not at 45°, choose a Chamfer type (see below).
- Check the preview, then click ✓ or press Enter.
Chamfer type#
Chamfer type works like Chamfer type in Onshape and Chamfer Type in SOLIDWORKS:
| Chamfer type | What it makes | In Onshape and SOLIDWORKS |
|---|---|---|
| Equal distance | The same distance back along both faces: a 45° bevel on a square edge. | Onshape: Equal distance. SOLIDWORKS: Distance distance, Symmetric. |
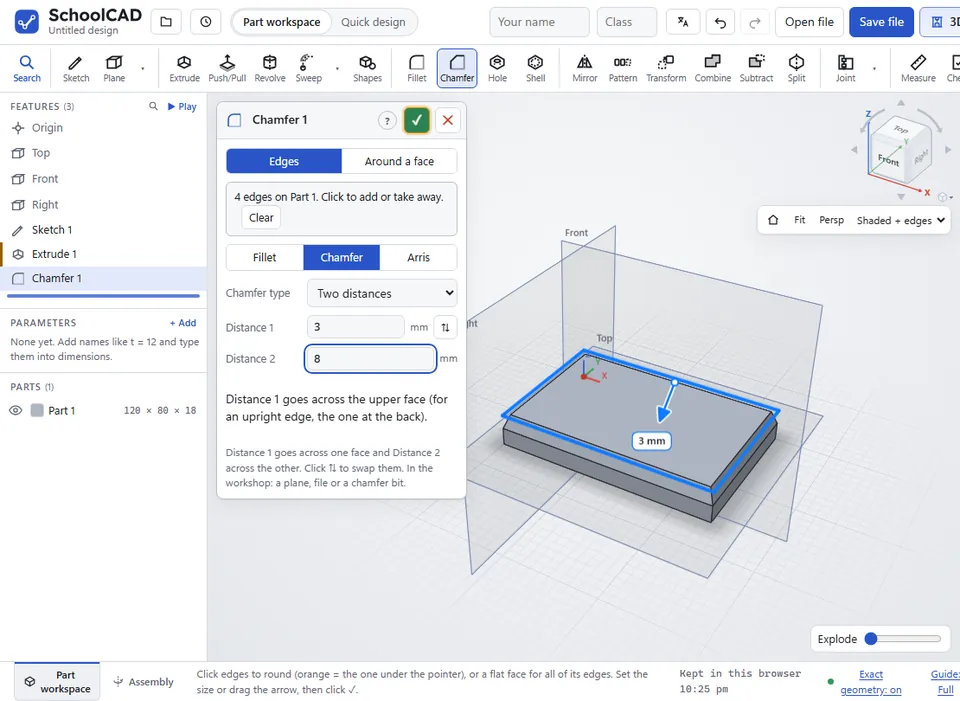
| Two distances | Distance 1 back along one face and Distance 2 along the other, for a long, shallow bevel. | Onshape: Two distances. SOLIDWORKS: Distance distance, Asymmetric. |
| Distance and angle | Distance 1 back along one face, and the bevel at an Angle to that face. The dialog says how far it goes along the other face. | Onshape: Distance angle. SOLIDWORKS: Angle distance. |
Which face Distance 1 goes across:
- Around a face: the face you picked, such as the top of a box lid.
- Edges: the upper of the two faces beside each edge, such as the top of a board. For an upright edge, the face at the back.
- Click ⇅ (Opposite direction) beside Distance 1 to swap the faces, as with Flip direction in SOLIDWORKS. The preview shows which way it goes.
Step by step#
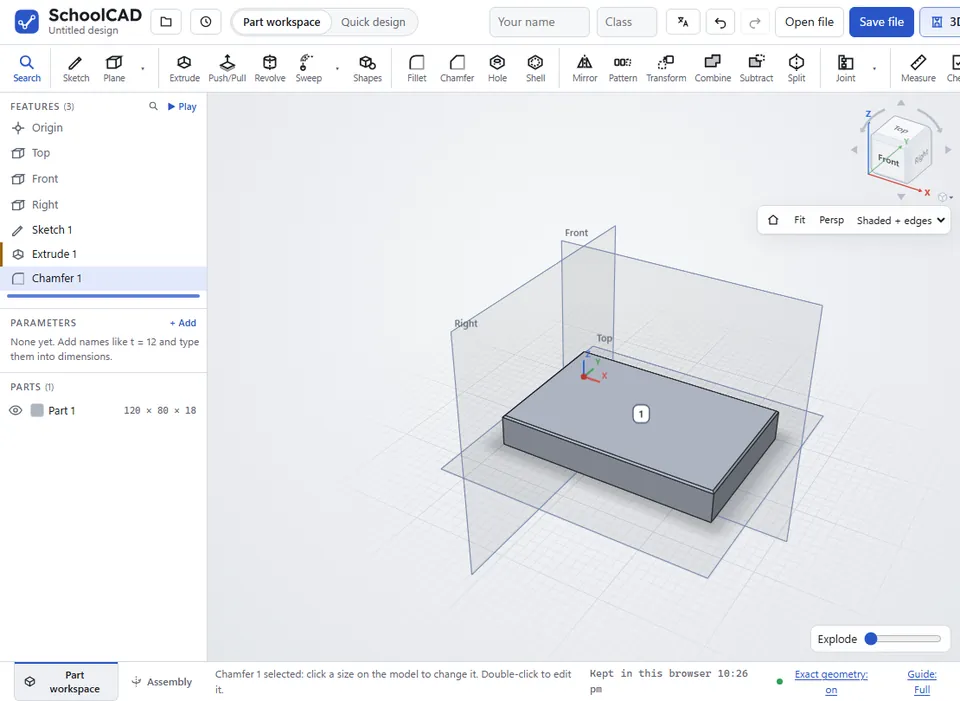
Here is the whole thing on a 120 × 80 × 18 mm board, from the SchoolCAD video tutorial.
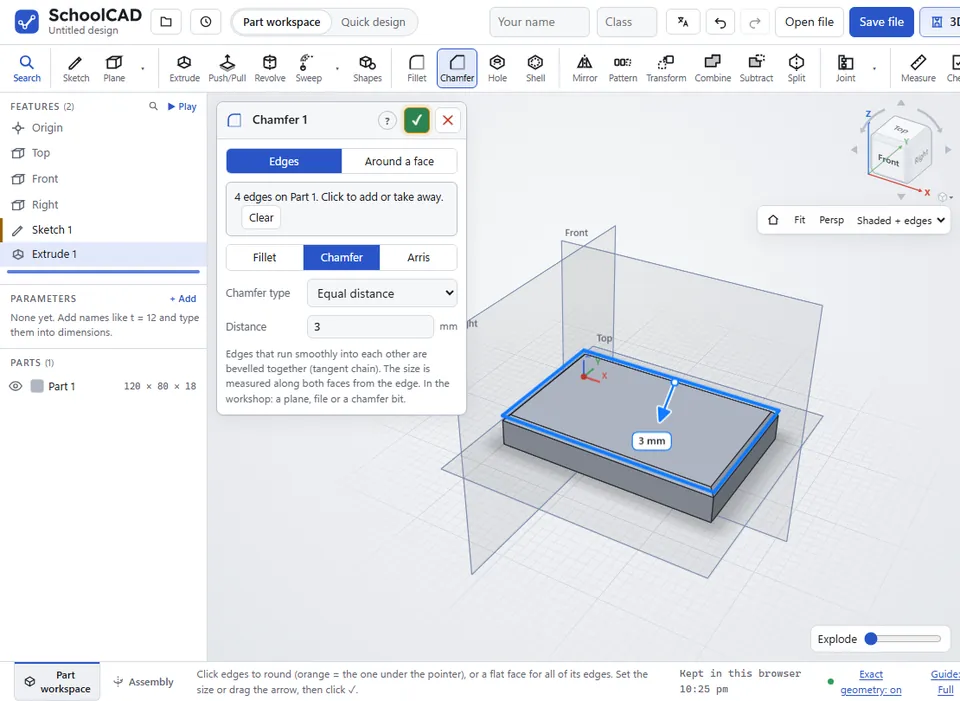
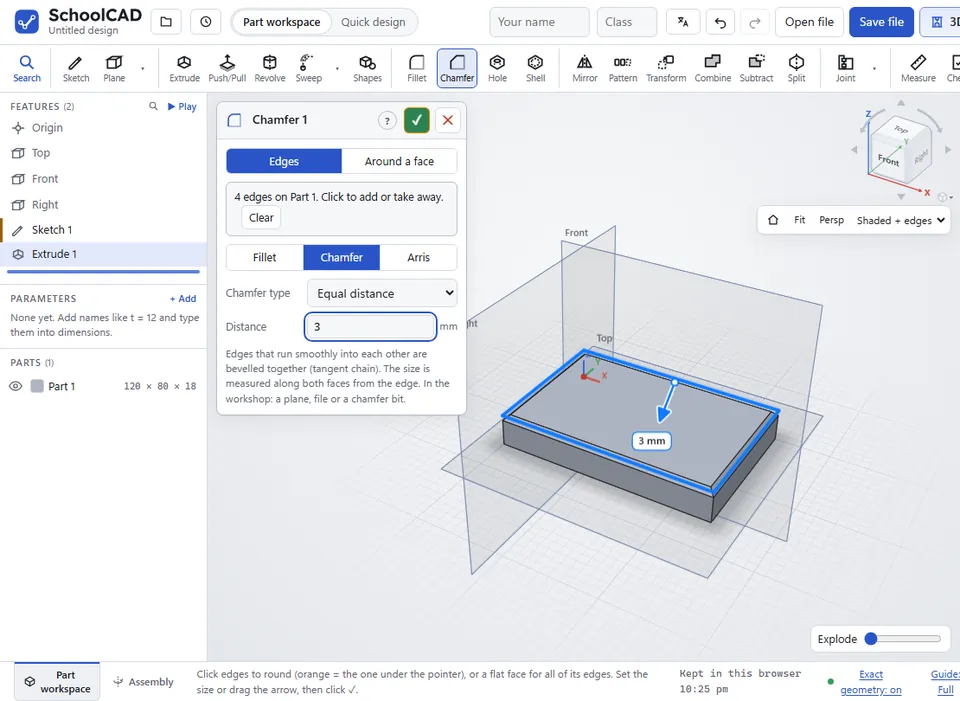
3. On a square edge that is a 45° bevel.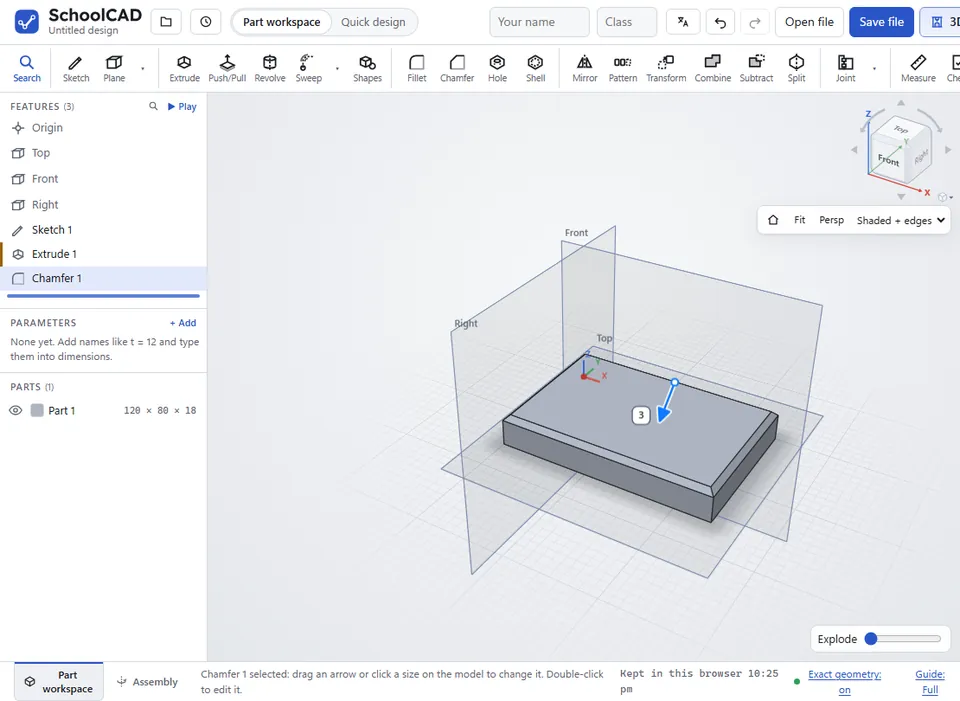
Options#
| Option | What it does |
|---|---|
| Edges | Pick edges one by one, or click a flat face for all of its edges. Clear takes them all away. |
| Around a face | Click one flat face, and every edge around its outside is bevelled. Holes in the face stay sharp. |
| Fillet, Chamfer, Arris | The shape of the edge: rounded, a flat bevel, or a tiny 1 mm bevel that just takes the sharp edge off. |
| Distance | The chamfer's size: how far the bevel goes along both faces from the edge, in mm. On a square edge, a 3 mm chamfer cuts 3 mm back on each face, at 45°. |
| Chamfer type | Equal distance, Two distances or Distance and angle (see above). |
| Distance 1, Distance 2 | For Two distances: how far back along each face, in mm. |
| Angle | For Distance and angle: the angle between the bevel and the face Distance 1 goes across, more than 0° and less than 90°. |
| ⇅ | Swaps which face Distance 1 goes across. |
Tips#
- Edges that run smoothly into each other are bevelled together.
- When you drag the arrow, the steps get smaller as you zoom in. Hold Shift for finer steps, or press Esc to put the size back.
- To change a chamfer later, double-click it in the feature tree, or click it once in the tree and drag its arrow on the model.
- Edges needs the 3D engine, which starts by itself the first time. If it cannot start on your computer, use Around a face.
- To cut the corner off a flat shape in a sketch, such as a laser-cut outline, use the sketch Chamfer instead (see Sketch fillet).
- For a screw head to sit flush, use Hole with Countersink, not a chamfer.
If it does not work#
- A 4 mm chamfer does not fit on these edges. Try a smaller size or fewer edges. The bevel is too big for the faces next to the edges.
- A 4 mm chamfer is too big for this shape. Try a smaller size. The same problem with Around a face.
- Click the edges to round (or a flat face to pick all of its edges). No edges are picked yet.
- The chamfer angle must be more than 0° and less than 90°. Type an angle between them, such as
30. - The bevel goes the wrong way: click ⇅ beside Distance 1.
- The 3D engine is not available here, so edges cannot be picked. Choose "Around a face".