Rectangle
Draw a rectangle from corner to corner, from its centre, or at an angle: boards, bases, lids and panels.
- Rectangle RSketch toolbar
- Centre rect Shift+RSketch toolbar
- Rounded rectangleSketch toolbar: under the ▾ next to Rectangle
- Aligned rectangleSketch toolbar: under the ▾ next to Rectangle
| SchoolCAD | Onshape | Fusion | SOLIDWORKS |
|---|---|---|---|
| Rectangle | Corner rectangle | 2-Point Rectangle | Corner Rectangle |
| Centre rect | Center point rectangle | Center Rectangle | Center Rectangle |
| Rounded rectangle | Rectangle + Fillet | Rectangle with fillets | Corner Rectangle + Sketch Fillet |
| Aligned rectangle | Aligned rectangle | 3-Point Rectangle | 3 Point Corner Rectangle |
A rectangle is the quickest way to start most parts: a board, the base of a pencil box, the top of a step stool. SchoolCAD has four rectangle tools.
| Tool | How to draw it | Good for |
|---|---|---|
| Rectangle R | Click one corner, then the opposite corner. | A shape that starts from a corner, such as a board with one corner on the origin. |
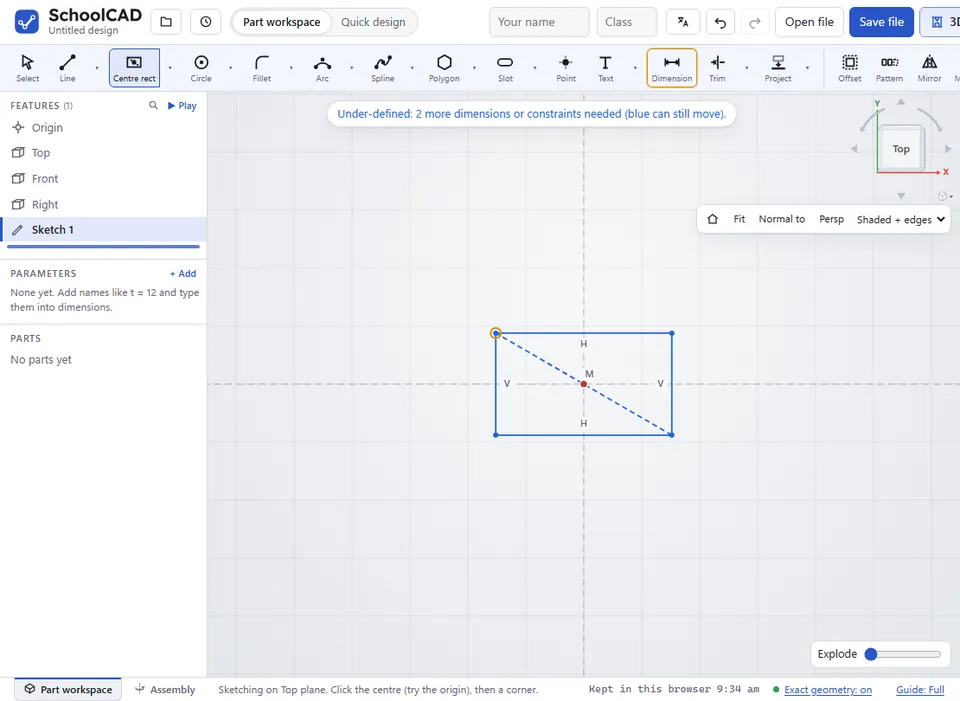
| Centre rect Shift+R | Click the centre, then a corner. | A shape centred on the origin, such as a coaster or a symmetric base. |
| Aligned rectangle | Click one corner, then the next corner (the first side, at any angle), then click to set the width. | A rectangle at an angle, such as a sloping brace. |
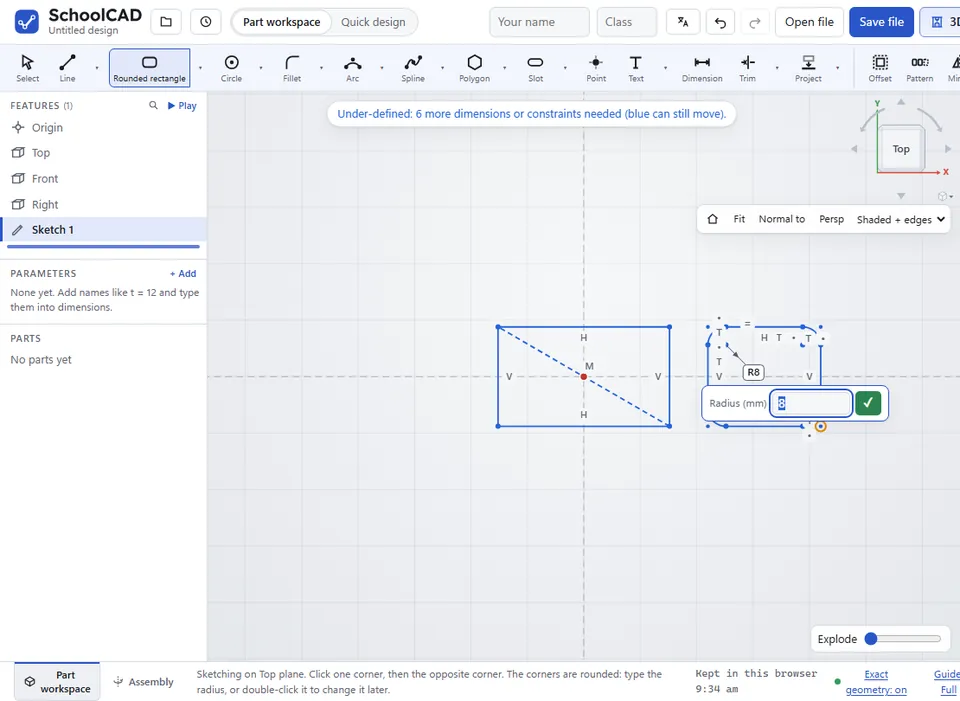
| Rounded rectangle | Click one corner, then the opposite corner, then type the corner radius and press Enter. | A shape with soft corners, such as a phone stand, a box lid or a coaster. All four corners stay the same: double-click the radius to change them all. |
Aligned rectangle and Rounded rectangle are under the ▾ next to Rectangle. A rounded rectangle is a rectangle with a fillet on each corner (Fusion and SOLIDWORKS draw it that way too).
How to use it#
- In a sketch, pick one of the three tools.
- Click as the table shows. While you draw, the pointer shows the size, such as 120 × 80 mm.
- Use Dimension D: click a side, click where the size goes, and type its length. Do the same for the other side.
What you get#
- Rectangle and Centre rect make four lines that stay horizontal and vertical.
- Centre rect also draws a dashed diagonal (a construction line) with the centre point in the middle of it.
- Aligned rectangle makes four lines that stay at right angles to each other. Dimension two sides, then set its slope with an angle dimension between one side and another line.
Step by step#
Here is the whole thing on a phone case outline, from the SchoolCAD video tutorial.

Tips#
- To make a square, select two sides that meet and click Equal (=) instead of typing the size twice.
- Round the corners afterwards with sketch Fillet F.
- Sizes can be sums, such as
300-2*12, or a parameter such ast.
If it does not work#
- Click to one side of the first edge to give the rectangle a width. With Aligned rectangle, your third click was on the line of the first side. Click away from it.